Being able to create a time lapse has become extremely easy to do. By easy I mean that it’s far more accessible to make one now than ever before. Everyone’s phone or tablet has a built in intervelometer now. But the one thing that stands out for me is composition and technique – and I’m only just getting warmed up.
Shooting The Time lapse
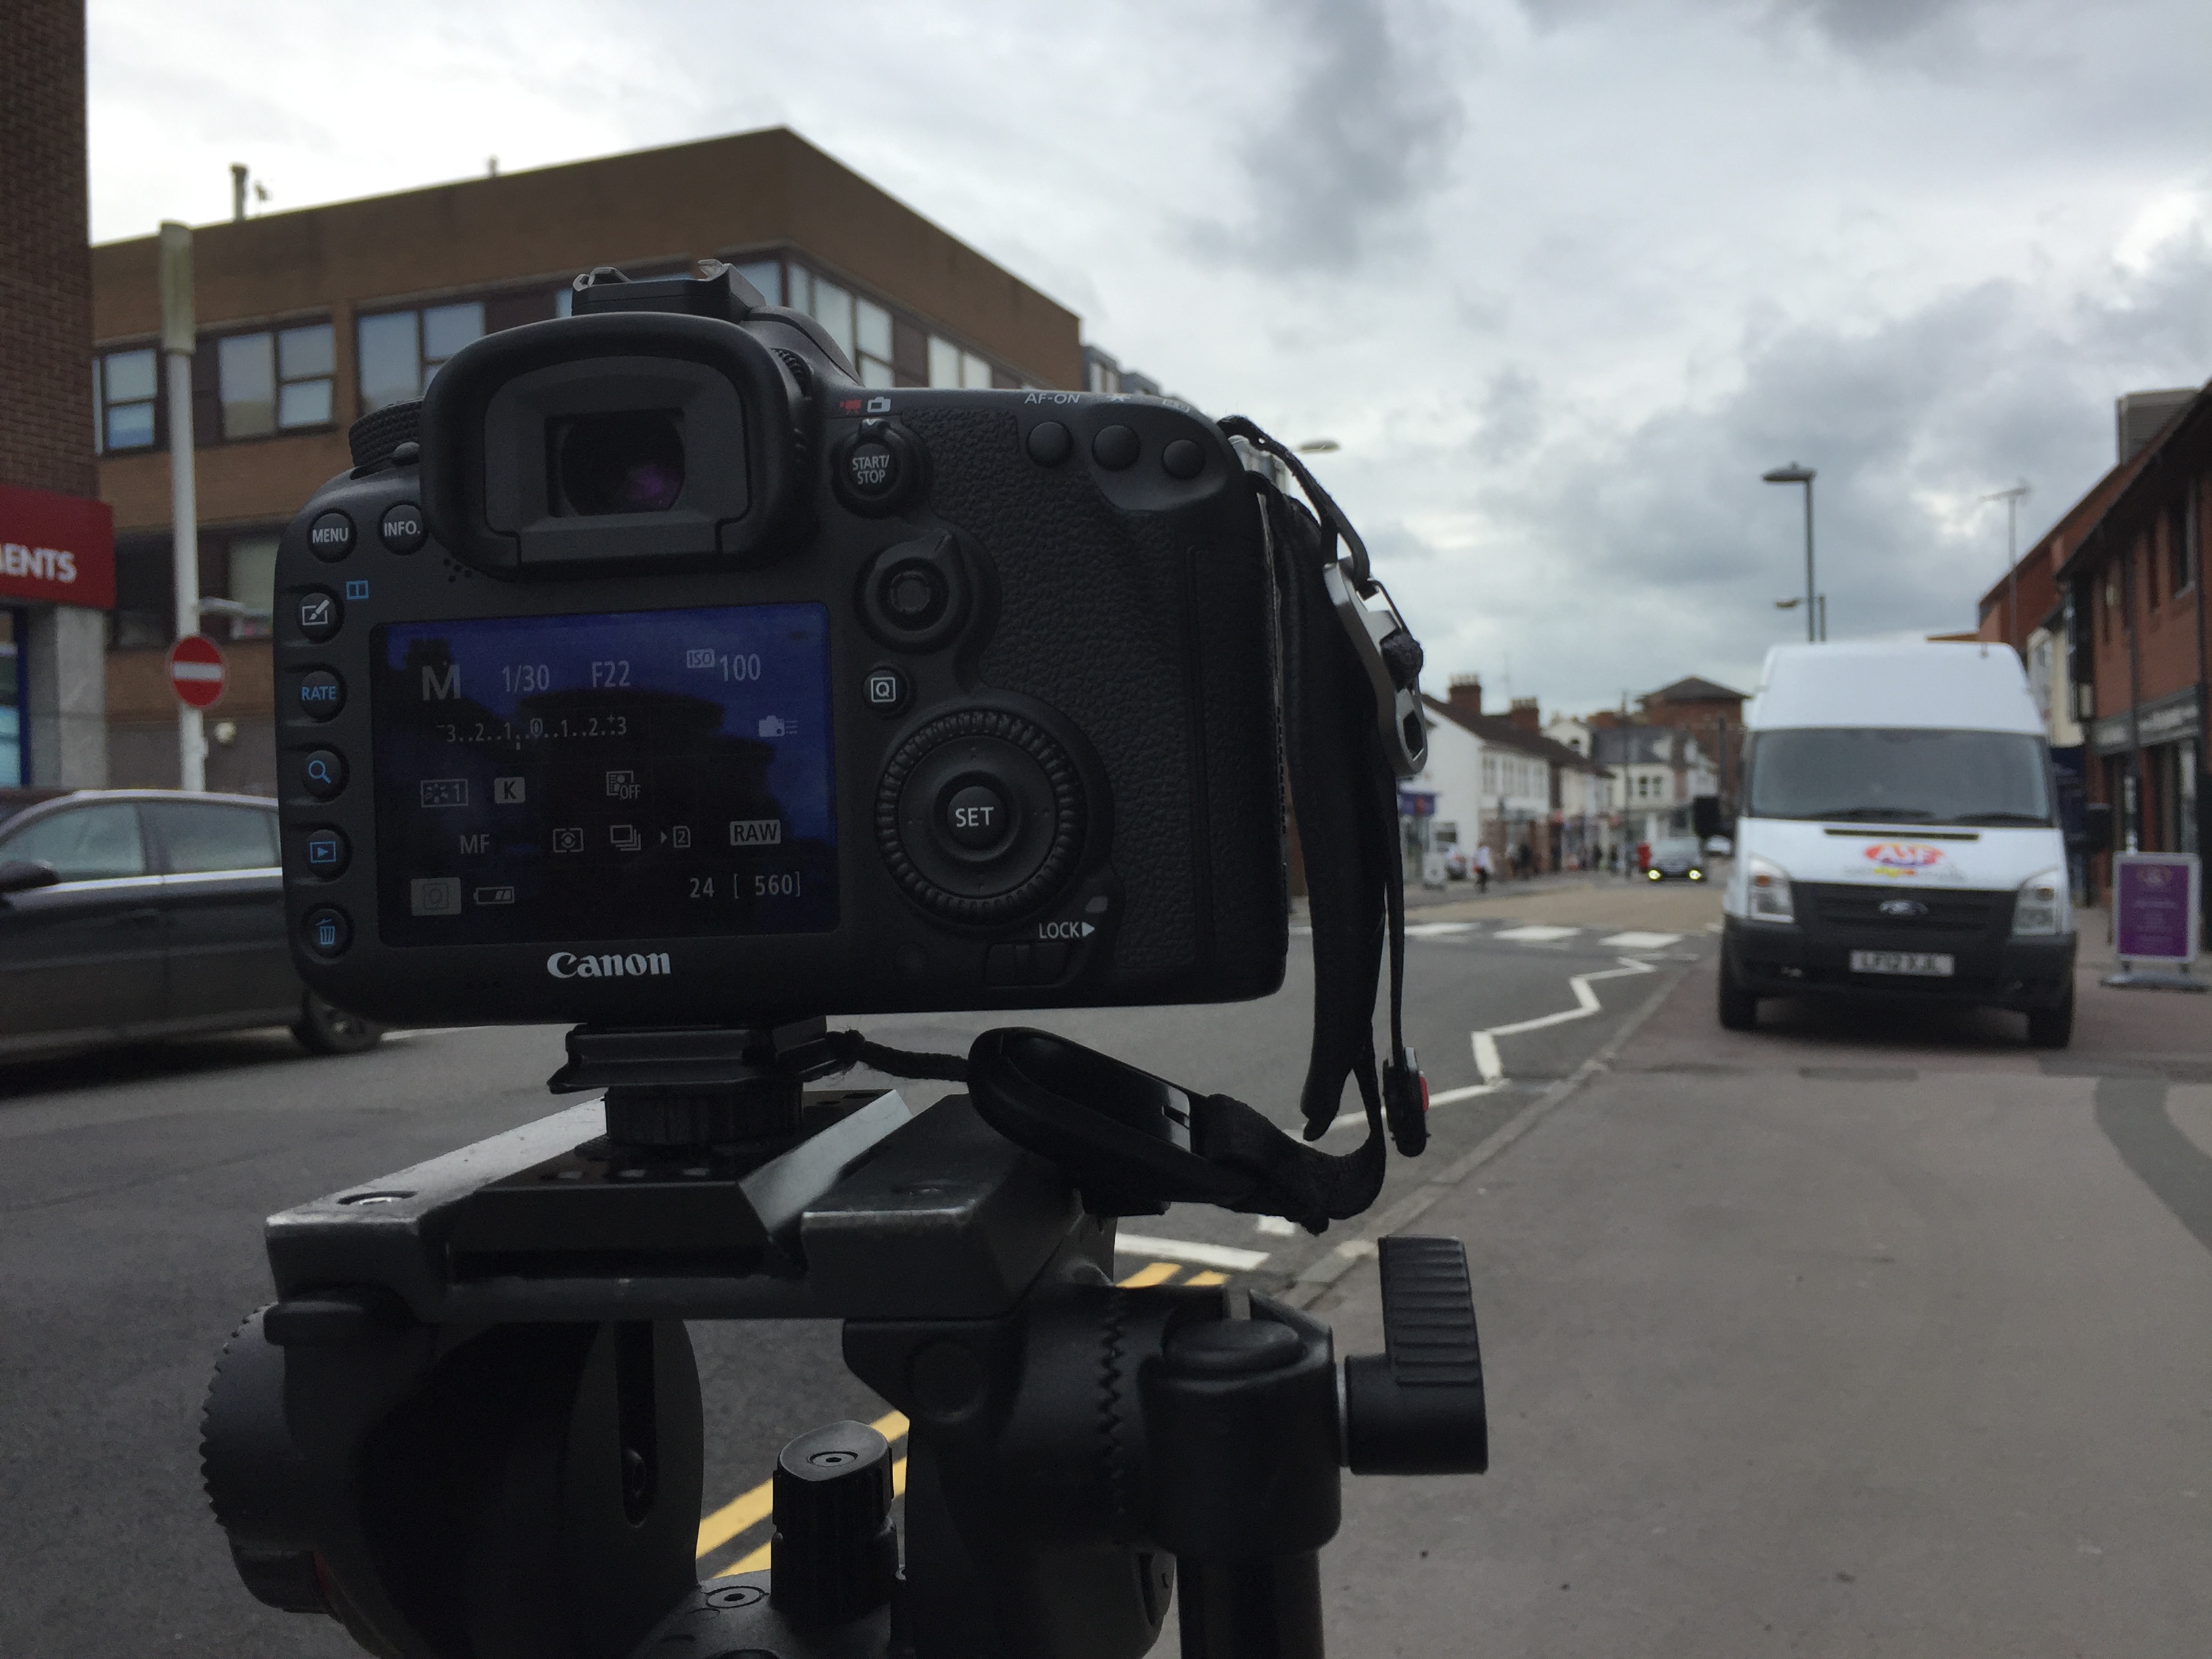
I know I’m a bit of a fan of the Canon 7D Mark II (not that I go on and on about it) ad one of its features is a built in intervelometer. While it’s great to have one, it’s not one filled with features. You can either select up to 99 or an unlimited amount of shots. Now that is very annoying because any calculations that you make can’t be based on the amount of shots, but on the amount of time. Even then you can’t tie that down.
Be that as it may, I went out to do some testing around Swindon town centre. When shooting a time lapse it’s all about capturing motion. People and cars are the most common and easiest time lapse subjects to capture. I thought this would be a good place to start.
Slow shutter speeds are the key and most of my shots were filmed at either 1/20 and 1/30. There is one shot (the zoom out) which was shot at 1/5. Needless to say I took a variable ND with me. The shot at 1/5 for had the look I was going for but I wasn’t happy with how the final composition came out.
Editing a Time Lapse
I was shooting for maybe and hour and a half and filled a 32GB card. When it came to importing them into Lightroom I separated all the photos into their individual sequences and then processed them as I would any other photograph I take. I decided this time to do all my editing in Lightroom rather than round trip to Photoshop.
I’ve read a few blogs about importing directly into After Effects but I wanted the functionality of Lightroom. Next time though I will be giving After Effects first priority.
Once I finished getting the look I exported all the shots into jpegs and imported them as an image sequence into After Effects. For more info on how to do that, go here.
I was strangely surprised at a how wobbly the footage was to begin with. Here is an unedited clip. I was shocked. The camera was rooted to the ground and my tripod is very sturdy (dirty minded people be warned, more smut to come) so how did this happen?
Well it’s because the camera picked up the vibrations from the cars and people going by. Warp stabilizer to the rescue! Simply dump it on to the clip, change the mode from smooth motion to no motion and hey presto. Wobbly footage gone.
What to improve on next time
I learnt a huge amount by making this short video of time lapses. They are something I want to shoot a lot more of and hopefully I will improve. I certainly know what looks pleasing to my eye and what doesn’t quite work.
Next time I will take a sandbag with me to add some extra stability and take more than one memory card.
I’m also going to have to invest in a proper intervelometer. As handy as it is having one built into the 7D Mark II, it’s not very practical when you know how many shots you need and can set it accordingly so it’s not just firing until you turn off the camera.
Next time lapse video to follow soon, with added night time goodness.