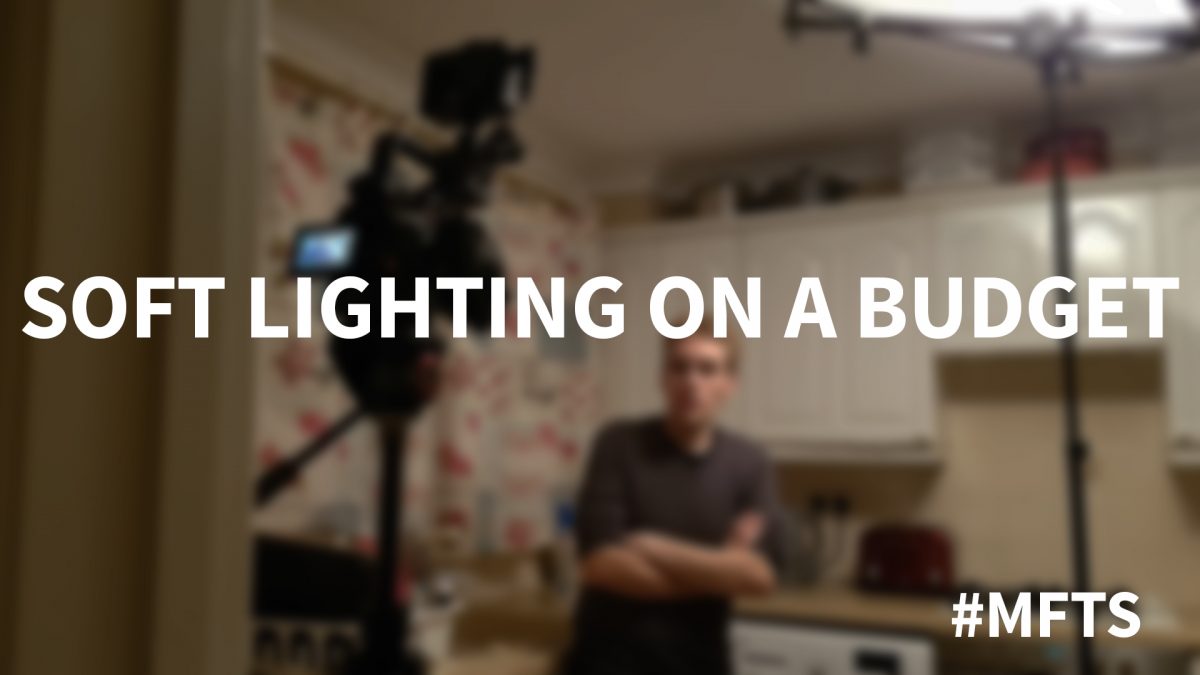
I wanted to try something very simple. Adding to the room light and make it more visually interesting when you have full control of the lighting.
My starting plate was this. We’ve got something fairly flat. I’m shooting on the Canon C100 but you can achieve this with any camera. Our ISO is 3200, Shutter speed 1/50, f3.2 at 5omm with a white balance of 3200K. I’m shooting in C Log but I could have achieved the same with a natural picture profile.
We want to make it this more flattering as this is just the overhead lights in the room.

The first thing we do is take the ISO on the camera down from 3200 to 850. This is the native ISO of the C100 but we still want some of the ambient light from the room.


Next I set up my keylight. In this case it is a Pixapro VNIX 1500s with full CTO gel to match. I used the softbox attachment which gives me a generally soft light across the face whilst spilling onto the background. There is still a nice separation though. The VNIX 1500s is at about 50% power.


To add to the separation I bring in a second light. My Aputure H528s with the EasyBox Grid and a full CTO gel.


I set it to about 35% power. I wanted the lighting to look natural. Not over powering but enough to give shape to the face. Both lights are angled from above to simulate the overhead lighting.

Just to show you what the hair light is doing on its own.

So this is our final image. Before & After.

We’ve got more shaped light on the face, the subject is brighter than the background. I would say that’s pretty good just for 2 lights.
But what about if we don’t have room to put lights up and still want a soft light?
Well in this case I diffused the overhead lighting. A very simple way to do this would be with diffusion paper, but I couldn’t find mine for this, so I used by 5 in 1 reflector, with he diffusion side to and raised it up to the ceiling lights until it softened the light to where I wanted it to be.


I had to raise my ISO to 1600 but still kept my 3200K white balance, f3.2, 1/50. I am very happy with this image and with a bit of noise reduction, you would never know the difference.
Our final colour corrected images. Corrected in Premiere Pro with Lumetri.

